.png)
Renovating for Comfort: What Order to Do the Upgrades In
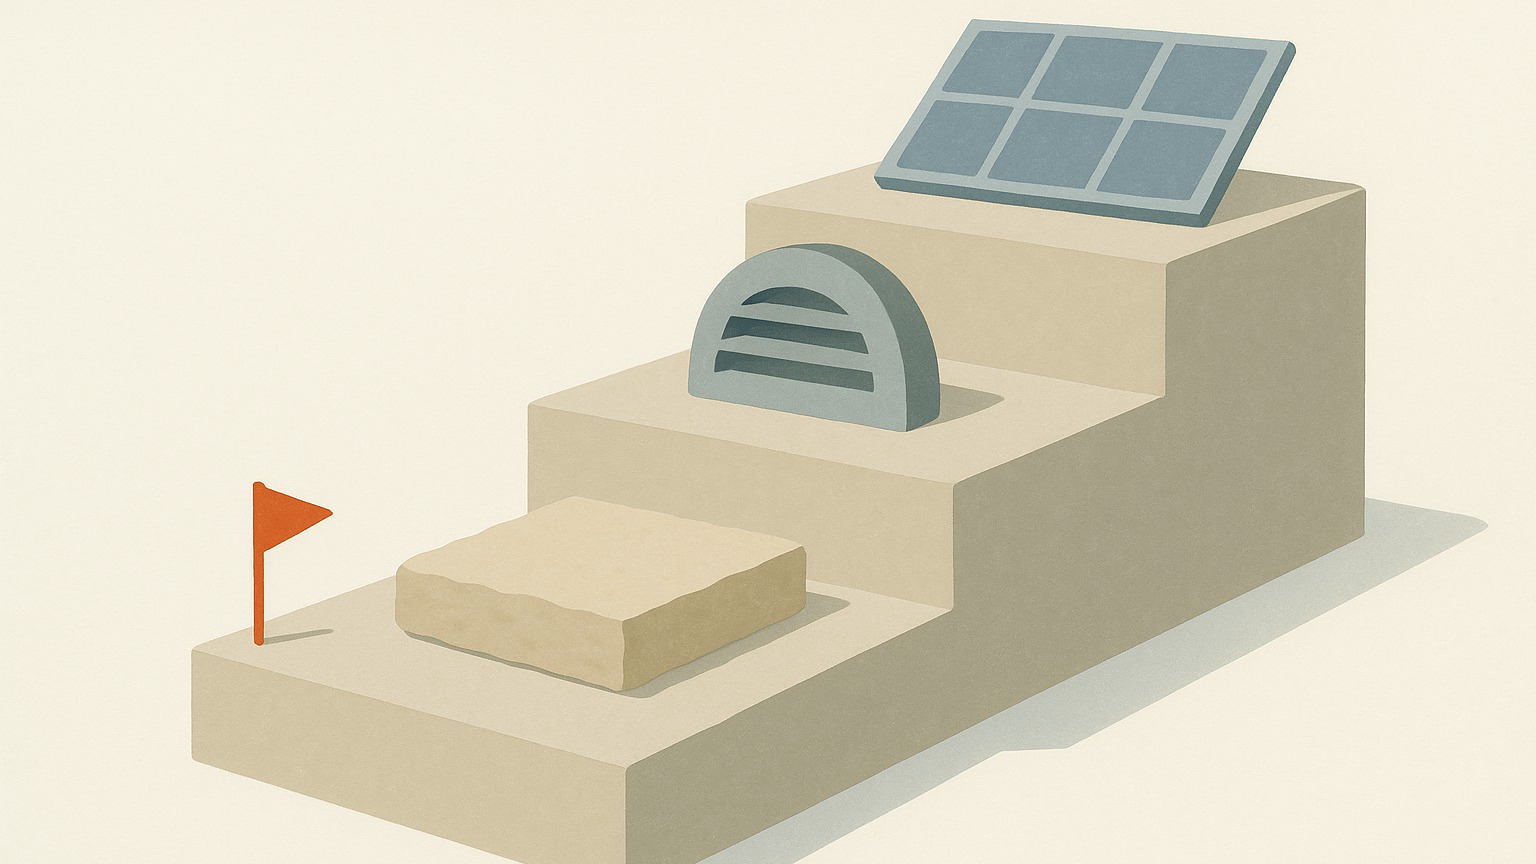
Renovating for comfort isn't really a question of which upgrade is "best" — most of them are worth doing eventually. The question that actually costs or saves you money is what order you do them in. Get the sequence wrong and you can end up paying for a bigger heating and cooling system than you needed, or a solar system that's already too small the week after it's installed.
Here's the order that actually holds up, the common sequencing mistakes, and roughly what they cost when they happen.
1. Envelope first — insulation, glazing, sealing
Everything else on this list performs better, and can be sized smaller, once the building envelope itself is doing its job. Ceiling insulation is the single biggest lever — it can cut heating and cooling energy use by 45% or more in a home that previously had none, since heat moves through the ceiling faster than anywhere else in the house. Underfloor insulation and draught sealing come next, with wall insulation typically adding a further 15% or so on top where it's accessible.
This isn't just about comfort now — it changes every calculation that follows. A leaky, uninsulated home needs a bigger, more expensive heating and cooling system to feel comfortable. Fix the envelope first, and the system you actually need gets smaller, cheaper, and quieter.
2. Then size heating and cooling — for the home you'll have, not the home you have now
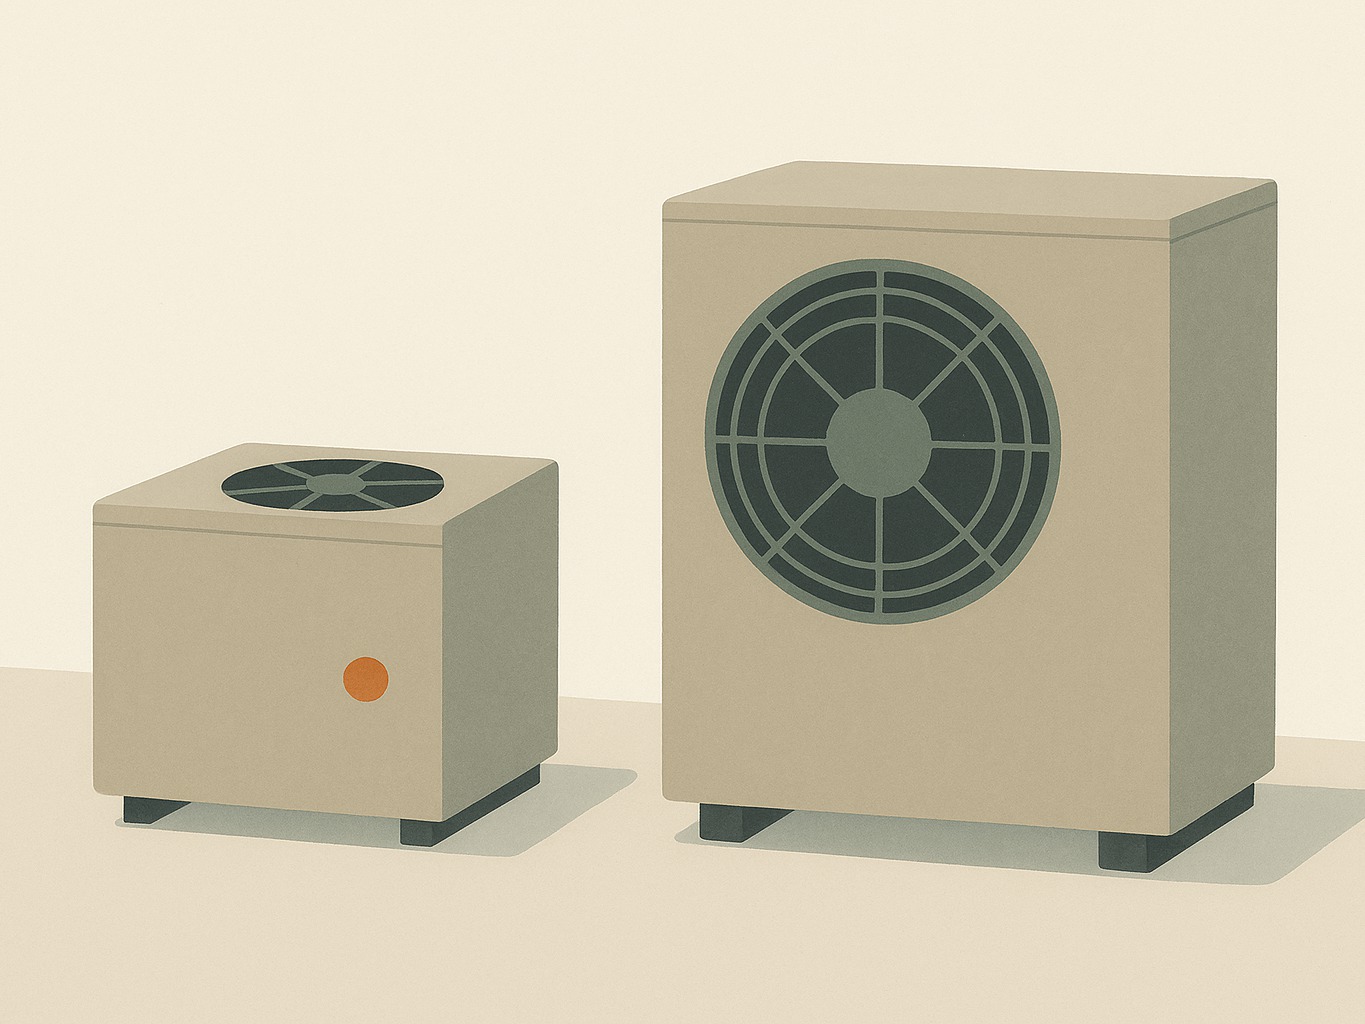
This is where sequencing mistakes get expensive. If you size a ducted system to compensate for a leaky, uninsulated house, and then insulate and seal it afterwards, you've bought a system that's now oversized for the home it's actually cooling. An oversized system doesn't just cost more upfront — it short-cycles, switching on and off rapidly instead of running steadily, which wastes energy, causes uneven temperatures, and can leave the home more humid than a correctly sized system would, since it never runs long enough to properly dehumidify the air.
The cost difference is real, not marginal. As a rough guide, a correctly sized 10kW ducted system commonly runs $3,000–$4,800 supplied, while stepping up to an unnecessary 14kW system runs $4,500–$6,000 — commonly $1,500 or more extra upfront, before counting the higher running cost of a system that's fighting its own sizing for the life of the home.
3. Electrical infrastructure — while the walls are open
This step gets skipped more than any other, usually because it's invisible once the walls are closed up again. A modern, fully electrified home commonly needs to step up from an old 40–100 amp switchboard service to a 200 amp board — now the industry-standard upgrade — to comfortably run solar, a battery, an EV charger, induction cooking and heat pump hot water together, rather than one at a time.
If you're renovating anyway and the walls are already open, this is the cheapest point in the project to run the extra circuits and upgrade the switchboard. Going back afterwards to add capacity for a battery or an EV charger means paying for demolition and reinstatement work a second time, on top of the electrical work itself.
4. Solar and battery — sized for the home you're building toward
Solar is easy to install early and hard to resize later, which makes it the upgrade most likely to be sequenced wrong. A household still on gas cooking and gas hot water might reasonably size a system around the older 6.6kW standard — but a fully electrified home, once induction cooking, heat pump hot water, reverse cycle heating and cooling and an EV are all drawing from the same supply, commonly needs somewhere in the order of 10–15kW to cover it comfortably.
Installing solar before you've decided on the rest of your electrification plan risks locking in a system sized for the house you have now, not the one you're planning to have in two years. It's worth deciding your full electrification path first, even if you're not doing it all in one go, so the solar system you install once is sized for where you're actually headed.
Our take
None of these four steps are optional, and none of them are wrong to want — the mistake is almost always sequencing, not selection. Envelope work makes every later step smaller and cheaper. Electrical infrastructure is nearly free to do while walls are open and expensive to add later. Solar and battery sizing should follow your full electrification plan, not precede it. Get the order right, and the same total spend goes noticeably further.
Frequently asked questions
Why does insulation need to happen before I size my air conditioning?
Because a leaky, uninsulated home needs a larger system to feel comfortable — insulating afterwards leaves you with an oversized system that short-cycles, wastes energy and dehumidifies poorly. Sizing after the envelope is fixed means a smaller, cheaper, more efficient system. Source: SmarterAir.
How much can ceiling insulation actually save?
Up to 45% or more on heating and cooling energy use in a home that previously had none, making it the single highest-impact step in any renovation sequence. Source: YourHome, Australian Government.
What size switchboard does a fully electrified home actually need?
Commonly a 200 amp service, up from the older 40–100 amp standard, to comfortably run solar, a battery, an EV charger, induction cooking and heat pump hot water without capacity issues. Source: Energy Matters.
How much bigger does my solar system need to be if I fully electrify?
A fully electrified home commonly needs somewhere around 10–15kW, compared with the older 6.6kW standard sized around gas cooking and gas hot water. Source: Energy Matters.
What does it actually cost to get the sequencing wrong on heating and cooling?
Stepping up one capacity tier unnecessarily — say from a correctly sized 10kW system to an oversized 14kW system — commonly costs $1,500 or more extra upfront, on top of higher running costs for the life of the system. Source: Sparky.
Get your step-by-step renovation roadmap
The right order depends on your specific home and your specific goals, not a generic checklist. Get your free ComfortScore, tell us what you're planning, and get a renovation roadmap sequenced around your home.
Start with your home. Then do things in the right order.
Before you get quotes
See when your home actually uses power
Get your free ComfortScore, then upload a PDF electricity bill. We’ll break down your peak, shoulder and off-peak use and your solar exports, so you can test how shifting use into the middle of the day, or adding a battery, changes when you buy from the grid.
1
Get your ComfortScore
Answer a few questions about your home. It’s free.
2
Upload a PDF bill
We read your usage by time of day, your tariff and your solar exports.
3
Try the what-ifs
Move load into the solar day or add a battery, and see how your grid use shifts.
What to read next




Get the next guide before you need it
One email when we publish something new — practical guides only, unsubscribe any time.