.png)
Draught Proofing Your Home: A Weekend Guide (Under $200)
Draught proofing is about as close as home improvement gets to a sure thing: it's cheap, it's mostly DIY, and it works on the very first cold night you try it. Sustainability Victoria estimates that 9 out of 10 Victorian homes have unwanted draughts, and that air leakage through gaps accounts for up to 25% of winter heat loss — a quarter of your heating bill, potentially, leaking out through gaps you can find and close in a weekend.
Here's the room-by-room checklist, what it costs to do it yourself, and the one item on this list that genuinely isn't a DIY job.
Find your draughts before you buy anything
Don't guess where to start — find out. On a still day, with fans and exhaust fans off, run a lit candle or incense stick slowly around window frames, door jambs, skirting boards, and any ceiling penetrations like downlights or exhaust fans. A steady flame or smoke trail means a decent seal; a flicker or a sideways pull means air is moving through a gap you probably can't see. It costs nothing and tells you exactly where to spend your $200, rather than sealing gaps that were never the problem.
The weekend checklist
Doors
A door snake or draught stopper along the bottom of an external door is the cheapest fix on this entire list — commonly $3.50–$6 for a simple weighted tube. For a more permanent fix, a self-adhesive weatherstrip along the door frame itself (a 5-metre roll runs around $16) seals the sides and top, not just the bottom.
Windows
The same self-adhesive foam or brush weatherstrip used on doors works around window sashes and frames — one roll typically stretches far enough to cover several windows, so budget one or two rolls at around $16 each depending on how many windows you're doing.
Gaps, skirting boards and cracks
Gaps where skirting boards meet the floor, around architraves, and anywhere a pipe or cable passes through a wall are easy to miss and easy to fix with a tube of gap filler or sealant, typically $15–$25 a tube. This is the least glamorous part of the checklist and often the most overlooked.
Exhaust fans
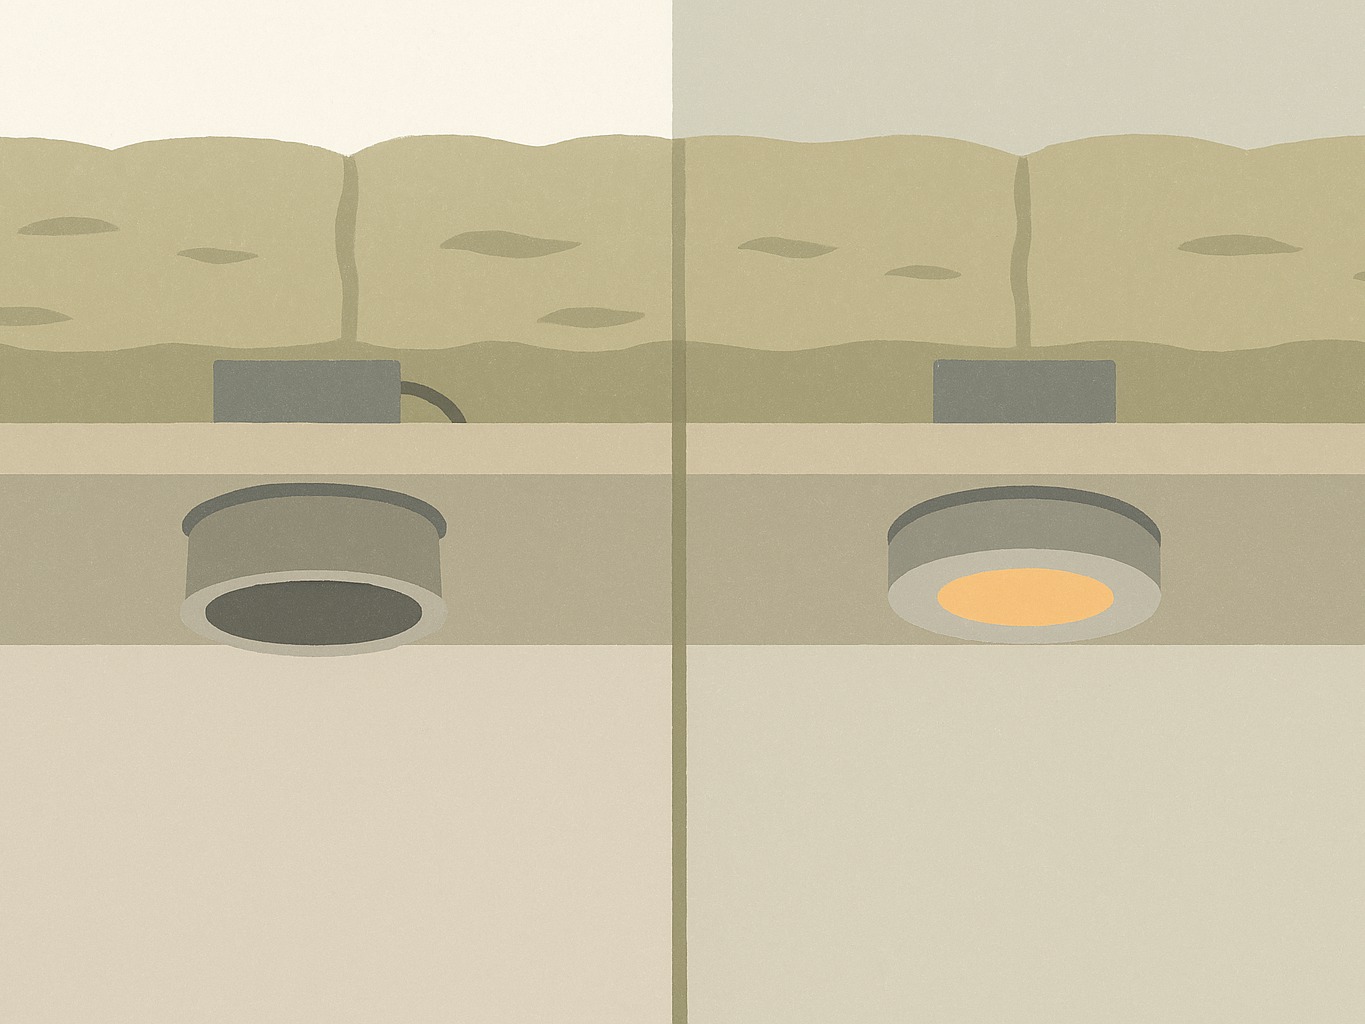
A bathroom or kitchen exhaust fan is effectively a permanent hole in your ceiling when it's not running, unless it has a backdraft damper. Self-sealing dampers or backdraft shutters that close automatically when the fan's off run $15–$35 for a standard plastic or DIY-fitted unit, up to $89 for a motorised version — a genuinely underrated item on this list, since most homes have two or three of these doing nothing to stop draughts right now.
Downlights — the one item that isn't a DIY job
Older halogen downlights run hot enough — historically 250–300°C at the fitting — that insulation has to be kept clear around them, which leaves a permanent gap in your ceiling's thermal seal at every single downlight. IC-rated LED downlights are designed to have insulation sit directly against them safely, closing that gap for good, and they run cool enough that the fire risk simply isn't there.
Here's the catch: swapping a downlight fitting means working on fixed mains wiring, and that's licensed-electrician work in Australia, not a weekend DIY swap. The fittings themselves are inexpensive — commonly $15–$45 each — but budget for an electrician's time on top if you've got more than a couple to replace.
What it all costs
A typical weekend's worth of materials for a few doors and windows adds up fast, but stays well under budget: a door snake or two ($5–$12), two rolls of weatherstrip for doors and windows ($32), a tube or two of gap filler ($25–$50), and one or two exhaust fan dampers ($35–$70) comes to somewhere around $100–$165 — comfortably under the $200 mark, before any electrician callout for downlights.
When to call a pro — beyond the downlights
If your candle test turns up more than the odd gap around a door or window — persistent draughts at the roof-wall junction, through subfloor vents, or widespread cracks in an older weatherboard home — sealant and foam strips are treating symptoms, not the cause. That's when a proper assessment is worth more than another trip to the hardware store; a formal home energy rating can tell you exactly where your envelope is actually losing heat, rather than you guessing room by room.
Our take
This is genuinely one of the highest-return weekends you can spend on a home, dollar for dollar. Find the gaps first, work through doors, windows, skirting boards and exhaust fans yourself, and treat downlights as the one item on the list that needs an electrician rather than a Saturday afternoon.
Frequently asked questions
How much heat does a home actually lose through draughts?
Up to around 25% of winter heat loss in a typical Victorian home comes from air leakage, and 9 out of 10 Victorian homes have some degree of unwanted draught. Source: Sustainability Victoria (archived).
Can I seal my own downlights to stop draughts?
No — replacing a downlight fitting involves fixed mains wiring, which is licensed-electrician work in Australia. Never cover a non-IC-rated halogen downlight with insulation yourself; it's a genuine fire risk. Source: EcoMaster.
What does an exhaust fan draught stopper actually do?
It closes automatically when the fan isn't running, stopping the fan from acting as a permanent gap in the ceiling. Standard units run $15–$35, with motorised versions up to around $89. Source: Universal Fans Australia.
Can I really draught-proof my home for under $200?
Yes, for a typical weekend covering a few doors, windows, gaps and exhaust fans — commonly $100–$165 in materials, well under the $200 mark, before any electrician callout for downlights.
How do I know where my home is actually losing air?
A simple candle or incense-stick test on a still day, run slowly around door and window frames, skirting boards and ceiling penetrations, will show you exactly where air is moving before you spend anything.
Find your home's quick wins
Draught proofing is one of several quick wins most homes have sitting untouched. Get your free ComfortScore and see which ones are worth doing first in yours.
Start with your home. Then spend your weekend where it actually counts.
Before you get quotes
See when your home actually uses power
Get your free ComfortScore, then upload a PDF electricity bill. We’ll break down your peak, shoulder and off-peak use and your solar exports, so you can test how shifting use into the middle of the day, or adding a battery, changes when you buy from the grid.
1
Get your ComfortScore
Answer a few questions about your home. It’s free.
2
Upload a PDF bill
We read your usage by time of day, your tariff and your solar exports.
3
Try the what-ifs
Move load into the solar day or add a battery, and see how your grid use shifts.
What to read next

Get the next guide before you need it
One email when we publish something new — practical guides only, unsubscribe any time.